Wet Litter Wahala? Discover 5 Smart Tricks to Maintain a Clean, Dry Deep-Litter System for Healthier Broilers
If you’ve been raising broilers for a while now, you’ll agree that wet litter is one stubborn troublemaker on the farm.
One day, everything looks fine, your birds are eating well, scratching happily, and growing fast.
Then suddenly, you notice a foul smell, sticky litter, and droppings clumping under their feet.
Before you know it, your once-active birds are coughing, limping, or even losing feathers around their bellies.
Welcome to what many farmers call “wet litter wahala”, a common but dangerous problem in poultry farming.
But here’s the good news: You can prevent it. With the right habits and a few smart tricks, your deep-litter system can stay dry, clean, and healthy all through the flock’s life.
Let’s break it down step-by-step.
Why Wet Litter Is a Serious Problem for Broiler Farmers
Before we dive into the smart tricks, let’s understand why wet litter is such a big deal.
Your broiler’s litter is more than just “floor covering.” It’s like their mattress, playground, and toilet all in one.
A clean, dry litter keeps them warm, comfortable, and disease-free. But once it gets wet, things go downhill fast.
Here’s what wet litter causes:
- Ammonia build-up: When litter stays moist, it starts producing ammonia gas. This irritates your birds’ eyes and nostrils, and can cause breathing problems.
- Footpad dermatitis: Ever seen sores or burns on the underside of your birds’ feet? That’s from constant contact with wet litter.
- Dirty feathers and poor appearance: Wet litter stains feathers, making your birds look untidy and less attractive to buyers.
- Disease outbreaks: Damp environments breed harmful bacteria, coccidia, and fungi, a perfect recipe for infections.
- Reduced growth performance: Sick or stressed birds eat less, convert feed poorly, and take longer to reach market weight.
So yes, wet litter might look harmless, but it can quietly ruin your profits. Let’s fix this together by sharing the knowledge.
Related article:
5 Hidden Errors Blocking Your Broilers from Fast Growth
Rainy Season Nightmare: How Damp or Wet Litter is Secretly Killing Your Broiler Profits
Why I’m Excited about My Next Batch of Poultry birds
5 Smart Tricks to Maintain a Clean, Dry Deep-Litter System on Your Broiler Farm.
These are practical steps you can apply even on a small or medium-scale poultry farm without expensive equipment.
-
One of the Best Ways to Mitigate the Issue of Wet Litter Is To Master the Art of Proper Ventilation
This is where many broiler farmers miss it. Even if your floor is perfect and your drinkers never leak, poor ventilation can still cause wet litter.
When your poultry house lacks fresh air circulation, humidity builds up. That moisture from your birds’ breath and droppings settles into the litter, making it soggy.
Here’s what to do to resolve this issue:
- Make sure your poultry house has enough inlet and outlet openings for air to move freely.
- Use curtains or netting to control airflow — open during the day and close when it’s cold or rainy.
- If you’re using fans, position them to draw humid air out, not just blow it around.
- Keep your roof and sidewalls high enough to allow cross ventilation.
When you walk into your broiler pen and feel the air is stuffy or smells of ammonia, it’s time to improve ventilation immediately. Your nose is one of the best detectors!
Related article:
Why I’m Excited about My Next Batch of Poultry birds
Discover the Secrets to Sustainable Broiler Farming Success!
-
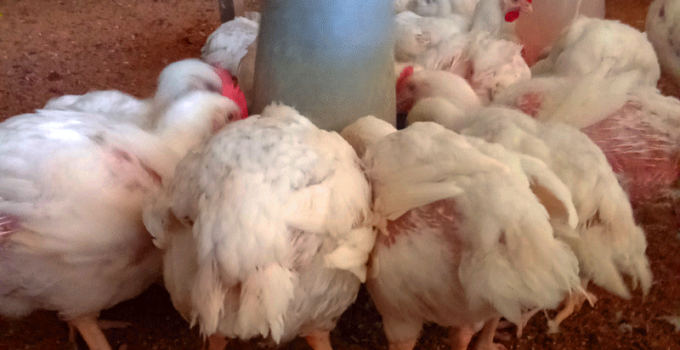
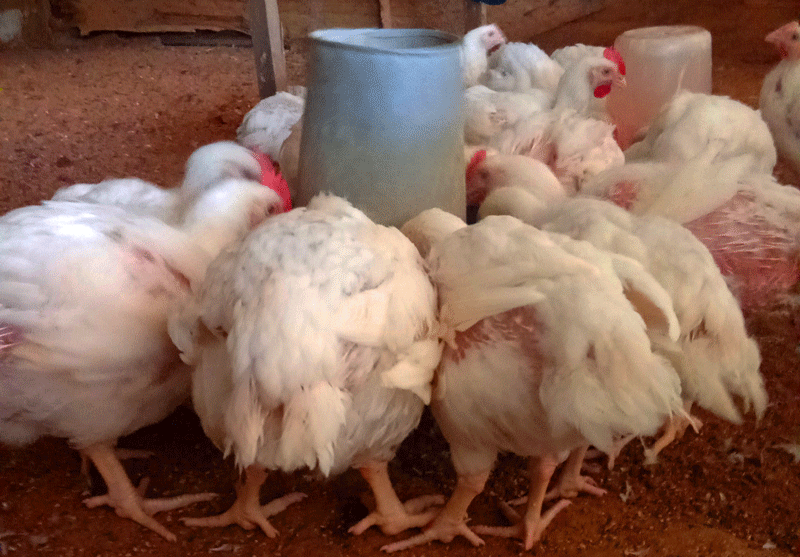
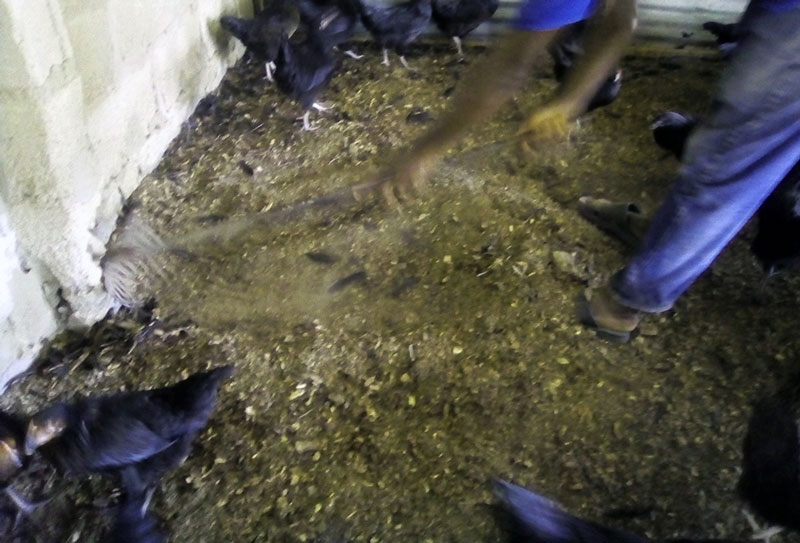
In Combating Wet Litter, Always Choose and Manage the Right Litter Material
The quality of your litter material plays a big role in moisture control. Some materials absorb too much water and take ages to dry, while others maintain a nice balance of dryness and insulation.
Good litter options include:
- Wood shavings: Soft, absorbent, and comfortable for birds.
- Rice husk: Common, affordable, and works well if kept dry.
- Sawdust: Use only when it’s not too fine (to avoid dust inhalation).
- Chopped dry straw or maize cobs: If properly dried and sieved.
Avoid: Sand, paper, or materials that hold water for long periods.
Smart litter management tips in your broiler farm:
- Spread litter to a depth of 2–3 inches (about 5–8 cm) for chicks and increase to 4–5 inches as they grow.
- Turn or rake the litter every 2–3 days to keep it loose and aerated.
- Remove caked or wet spots, especially under drinkers.
- Add fresh dry litter when needed — don’t wait till the whole floor is soaked.
One farmer in Oyo State shared that ever since he started raking litter daily with a garden fork and replacing wet patches with fresh wood shavings, his birds’ footpad problems disappeared, and the pen smell improved dramatically.
Related article:
Why I’m Excited about My Next Batch of Poultry birds
How to Feed Your Noiler Chickens For Maximum Profits
-
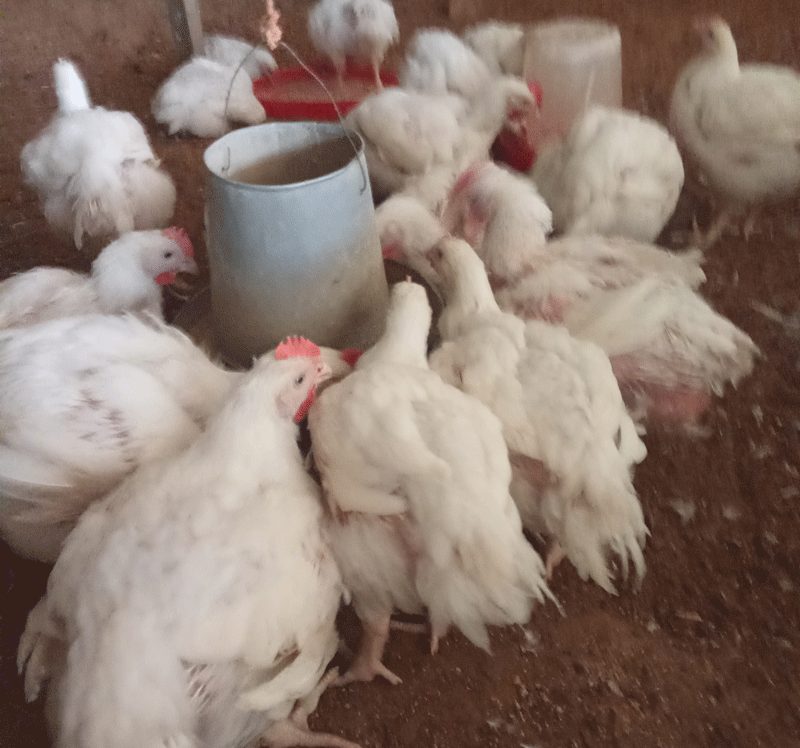
Avoiding and Controlling Water Spillage on Your Litter Is a Sure Way of Avoiding Wet Litter
Water spill is the number one culprit behind wet litter. It often happens quietly, drop by drop, until you realize the litter around your drinkers is completely soaked.
How to prevent this:
- Use well-designed drinkers appropriate for your birds’ age and size.
- Hang or elevate drinkers slightly above litter level so birds don’t scratch litter into them.
- Avoid overfilling — just enough for easy sipping, not flooding.
- Check for leaks or cracks daily.
- If you’re using nipple drinkers, inspect them regularly to ensure they’re not dripping.
You can also place a tray, old tile, or flat board under each drinker to prevent spills from soaking into the litter.
Keep a small broom or brush handy to clean spilled areas immediately and replace with dry litter. The earlier you catch it, the less damage it causes.
Related article:
8 Ways You Can Easily Sale Your Broilers during the Christmas Festive Period
5 ways you can use to stop your broiler chickens from dying at 4 weeks
How to Effectively Manage Heat stress in Broiler Chicken
-
Managing Stock Density and Feeding Habits Is the Surest Way to Keep Wet Litter at Bay
Overcrowding is another sneaky cause of wet litter. When too many birds are packed in one space, there’s more droppings, more heat, more moisture — and faster litter breakdown.
Ideal stocking density:
- For broilers, aim for 8–10 birds per square meter (depending on breed and ventilation).
- Always reduce density as they grow bigger.
Also, watch their feeding habits. If feed contains too much salt or protein, birds drink more water and pass wetter droppings — making litter damp faster.
Smart feeding management:
- Balance rations properly — avoid excess salt, fish meal, or urea sources.
- Use quality feed from reliable sources.
- Make sure feed troughs are at the right height to prevent feed wastage and mixing with litter.
A small-scale broiler farmer in Enugu once noticed his litter turning soggy by week 4. When he checked his feed formula, the salt level was slightly high.
After adjusting it and reducing bird density, his litter stayed dry till harvest!
Related article:
9 Reasons Why You Have Poor and Stunted Growth in Broiler Chickens
5 Solid Ways You Can Source Goats for Your Farm
3 Major Ways to Maintain a Healthy Chicken throughout the Rearing Period
-
Keep the Environment and Weather in Check. They Also Contribute To Wet Litter
Sometimes, the problem isn’t from inside the pen — it’s from outside. Rainwater, humidity, or damp ground can seep into your poultry house and mess up your litter system.
Here’s how to stay ahead:
- Build your poultry house on high ground to prevent flooding.
- Make sure rainwater doesn’t leak through the roof or walls.
- During the rainy season, install gutters and proper drainage to divert water away.
- Use plastic curtains or shade nets to block direct rain and wind from blowing inside.
- If the ground is naturally damp, place a thick layer of dry wood ash or lime before spreading litter — it helps absorb moisture and control odour.
During very humid periods, sprinkle a thin layer of dry wood ash or baking powder on wet patches before topping with new litter. It helps neutralise odour and maintain dryness.
Regular Monitoring Makes All the Difference
Even with the best setup, neglect can undo your effort. Make it a routine to check your litter condition daily.
Here’s a simple test:
Grab a handful of litter and squeeze it gently.
- If it crumbles easily, it’s perfect.
- If it sticks together or feels cold and damp, it’s getting wet.
Train your workers to notice these signs early. Prevention is always cheaper than a cure.
Conclusion
Wet litter wahala may sound like an unavoidable problem, but with these five smart tricks, you can beat it easily:
- Ensure proper ventilation.
- Use and manage the right litter material.
- Control water spillage.
- Manage stock density and feed.
- Protect your pen from environmental moisture.
When your litter stays dry and comfortable, your broilers grow faster, stay healthier, and produce better profits for you.
Remember, clean litter equals clean profit.
So, next time you walk into your broiler pen, look down because what’s happening under your birds’ feet can either make or break your farming success.


